

Troubleshooting Brake Caliper Assembly Problems in 2025
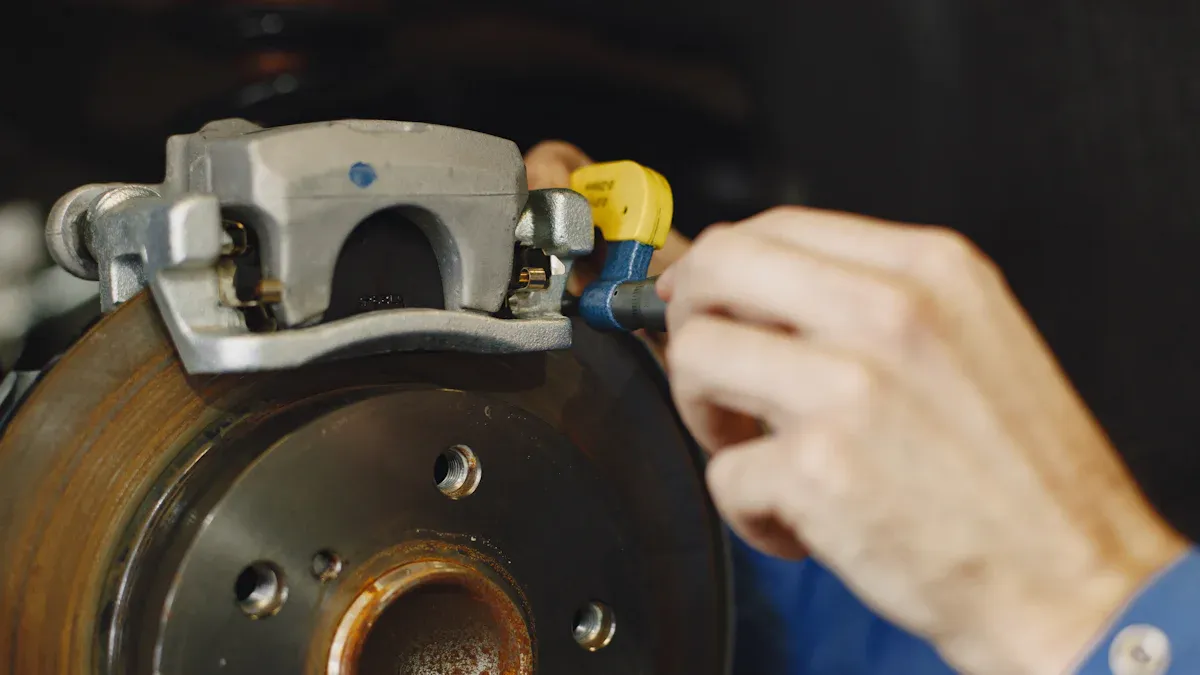
Your safety on the road needs good brake caliper assembly. If you use a Rover Brake Caliper, Toyota Brake Caliper, Volkswagen Brake Caliper, or Volvo Brake Caliper, you might have problems. These problems can be sticking calipers, brake fluid leaks, or uneven pad wear. The table below lists common problems, symptoms, and causes you may find when you put the parts together.
| Problem | Symptoms | Causes |
|---|---|---|
| Sticking or Seized Caliper | Car pulls to one side, burning smell | Corrosion, debris, worn seals |
| Brake Fluid Leaks | Soft pedal, visible fluid, poor brakes | Worn seals, cracked hoses |
| Uneven Brake Pad Wear | One pad wears faster, vibrations, noise | Stuck piston, misalignment |
You can fix these problems one step at a time if you follow the right steps.
Key Takeaways
- Make sure the brake caliper bracket lines up right. This helps stop uneven wear and steering problems. Clean and grease slide pins often. This lets the caliper move smoothly and keeps it quiet. Look at brake hoses for any damage. Change them if needed to stop leaks and keep brakes strong. Use a torque wrench to tighten bolts just right. Do not make them too tight or you may need repairs later. Bleed the brakes the right way to get air out. This gives you a firm brake pedal and good stopping power.
Common Brake Caliper Assembly Problems
Misaligned Bracket
When you install a brake caliper bracket incorrectly, you can face several problems.
- Your car may pull to one side when you press the brakes.
- You might notice uneven brake pad wear, which means one pad wears out faster than the other.
- Vibrations or shaking can happen during braking.
- Squealing or grinding noises may come from the brakes.
- You could need a longer distance to stop your car.
- The steering wheel might feel off or vibrate.
- Tires can wear unevenly, making your car less safe.
Tip: Always check the bracket alignment before finishing your brake caliper assembly. This helps you avoid these issues.
Slide Pin Issues
Slide pins let the caliper move smoothly. If you ignore them, you can run into trouble.
- Dirty or rusty pins can seize up, stopping the caliper from moving.
- Lack of lubrication causes noise and uneven pad wear.
- Damaged rubber boots let water in, which leads to corrosion.
- Bent or binding pins affect how well your brakes work.
You should clean and lubricate slide pins every time you work on your brake caliper assembly. If pins stick, use a screwdriver and gentle taps to remove them. If you see rust, ask a mechanic for help.
Brake Hose Problems
A damaged or old brake hose can leak fluid or block flow.
- Remove the wheel to reach the hose.
- Loosen the fittings and disconnect the hose from the brake line and caliper.
- Attach a new hose and tighten the fittings.
- Bleed the brakes to remove air.
If you skip these steps, you risk poor braking and soft pedals. Always inspect hoses during brake caliper assembly.
Over-Torqued Fittings
If you tighten bolts too much, you can damage threads or deform bolts.
| Component | Torque Range (ft-lbs) | Torque Range (Nm) |
|---|---|---|
| Caliper Bracket Bolts | 80 to 100 | 108 to 135 |
| Caliper Guide Pin Bolts | 20 to 40 | 27 to 54 |
| Bleeder Valve | 7 to 14 | 10 to 19 |
Over-torquing may not always cause instant failure, but it makes future repairs harder. Use a torque wrench and follow the manufacturer’s specifications during brake caliper assembly.
Bleeding Errors
If you do not bleed the brakes properly, air stays in the lines.
- You may feel a soft or spongy brake pedal.
- Braking power drops, making it harder to stop.
To avoid mistakes, align the piston, install the bleed screw correctly, and test for leaks. Always check that bolts are tight and simulate braking to confirm everything works.
Worn Seals
Seals keep brake fluid inside the caliper. If seals wear out, fluid leaks and braking suffers.
- Use seals made for your brake fluid.
- Lubricate seals before installing.
- Keep everything clean to avoid dirt and oil on exposed parts.
Replace worn seals during brake caliper assembly to prevent leaks and keep your brakes strong.
Damaged Pistons
Pistons push the brake pads against the rotor.
- Corrosion from water, dirt, or road salt can make pistons stick.
- Worn seals let fluid leak and reduce pressure.
- Overheating from heavy braking damages pistons and seals.
Wash your car often, especially after winter. Inspect pistons for rust and replace seals regularly. Avoid long downhill braking to prevent overheating.
Pad Thickness Mistakes
Brake pads must have enough material to work well.
- Thin pads reduce braking power and increase stopping distance.
- Worn pads overheat and lose effectiveness.
Check pad thickness during brake caliper assembly.
- Replace pads before they reach 1.5 mm.
- New pads are about 10 mm thick.
- If pads are 5 mm, watch them; at 3 mm, plan to replace; at 2 mm or less, stop driving and get help.
Corrosion or Debris
Rust and dirt can block caliper movement.
- Corrosion damages pistons and causes sticking.
- Debris leads to uneven pad wear and poor braking.
Clean caliper parts with brake cleaner and a wire brush. Lubricate moving parts with high-temperature grease. Inspect and clean every 2-3 years or at every pad change.
Guide Pin Bolt Torque
Guide pin bolts hold the caliper in place.
| Position | Torque (ft-lbs) |
|---|---|
| Front | 27 |
| Rear | 19 |
If bolts are too loose, the caliper moves and causes uneven braking. You risk brake failure and damage to pads and rotors. Always tighten guide pin bolts to the correct torque during brake caliper assembly.
Why Assembly Matters
Safety Risks
If you do not put your brakes together right, it can be dangerous. You could have brake failure if you do not install the parts correctly. Bad assembly can break parts and make your brakes stop working. If you install things wrong, your brakes might not work well or could stop working at all. Checking your brakes often helps keep them safe. Always look over your work. Even a small mistake can cause big problems when you drive.
Performance Impact
Putting brake calipers together the right way helps your car stop better and stay safe. Good calipers make sure the brakes work evenly on all wheels. This helps you control your car, even when you drive fast or need to stop quickly. The kind of caliper you use, like fixed or floating, changes how well your brakes work in different situations. This affects how your car reacts and stays steady.
When you build your brakes the right way, your car stops faster and is easier to control. You feel safer, especially if you need to stop suddenly. Good assembly also makes your brakes last longer and work well in rain or snow.
Maintenance Costs
If you make mistakes when putting brake calipers together, you might spend more money fixing your car. Bad assembly can wear out pads and rotors faster. You may have to buy new parts sooner than you thought. Checking your brakes often and working carefully saves money over time. You can avoid big repairs and keep your car working well.
Brake Caliper Assembly Troubleshooting Steps
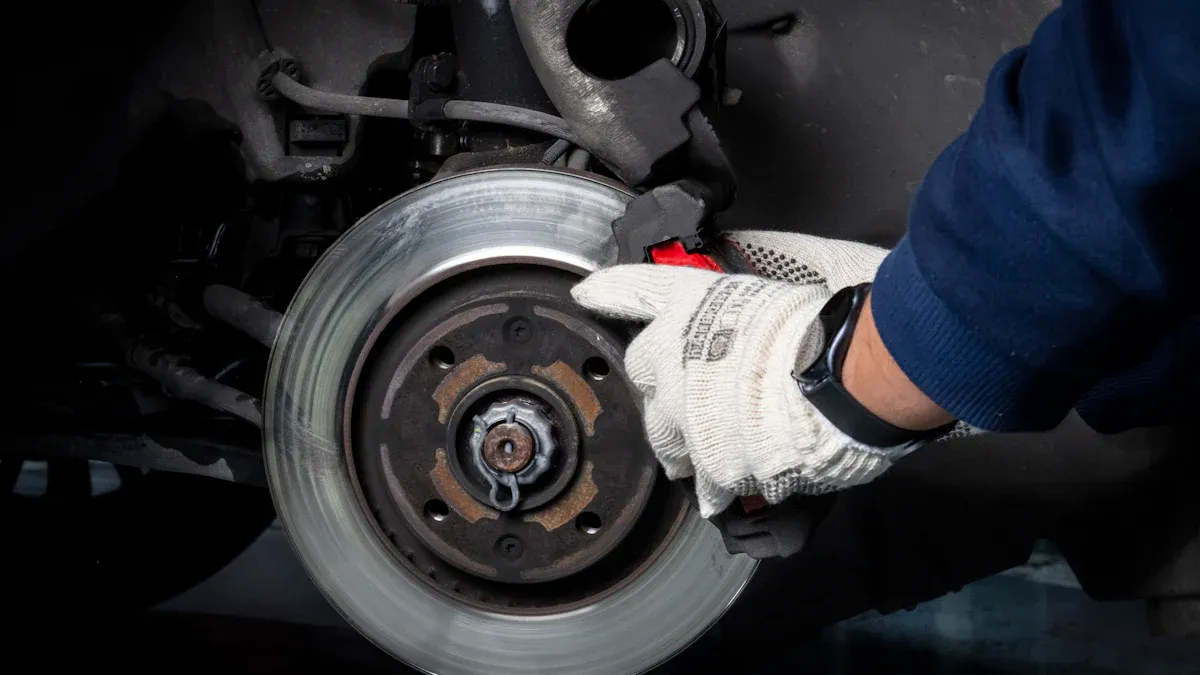
Identify the Problem
You should start by looking for signs that something is wrong with your brakes.
- Listen for noises like squealing or grinding when you press the brake pedal.
- Feel for vibrations or a pulsing sensation while braking.
- Check if the brake pedal feels soft or if your car pulls to one side.
- Look at the caliper and pads for any visible damage or leaks.
- Test the parking brake to make sure it holds the car in place.
- Watch for warning lights or ABS issues on your dashboard.
Tip: Write down any symptoms you notice. This helps you find the exact problem faster.
Tools Needed
You need the right tools to fix brake caliper assembly problems.
- Brake caliper tool kit for removing and adjusting calipers
- Socket set for loosening bolts
- Brake cleaner to remove dirt and grease
- Torque wrench to tighten bolts correctly
- Pry bar for stubborn parts
Note: Always wear gloves and eye protection when working on your brakes.
Step-by-Step Fixes
Follow these steps to repair common brake caliper assembly issues:
- Gather your tools and make sure your car is on a flat surface.
- Use a jack and jack stands to lift and secure your car.
- Remove the wheel to reach the caliper.
- Unbolt the caliper and check for leaks or worn parts.
- Clean the caliper with brake cleaner.
- Lubricate the slide pins and moving parts.
- Replace any damaged seals, pistons, or pads.
- Reassemble the caliper and tighten bolts with a torque wrench.
- Pump the brake pedal to check for proper function.
- Test drive your car to make sure the brakes work well.
Prevention Tips
You can prevent future brake caliper assembly problems by following these tips:
- Always tighten guide pins to the correct torque.
- Clean and lubricate the caliper bracket if you reuse it.
- Remove rust and dirt with a wire brush and brake cleaner.
- Replace crush washers on brake hoses to stop leaks.
- Check rubber boots for cracks or damage.
- Use high-temperature grease on clips and contact points.
- Bleed the brake lines to remove air and moisture.
- Double-check all bolts and use thread-locker if needed.
Remember: Careful work now saves you time and money later.
Practical Tips
Mistakes to Avoid
You can make your brake caliper assembly much easier if you know what mistakes to watch for.
- Do not skip cleaning the caliper and bracket. Dirt and rust can cause sticking or uneven wear.
- Never reuse old seals or rubber boots. Old parts can leak or fail quickly.
- Avoid over-tightening bolts. Stripped threads or broken bolts can lead to brake failure.
- Do not forget to lubricate slide pins and contact points. Dry parts can seize up.
- Always check pad thickness before you finish. Thin pads will not last long.
Tip: Double-check every step before you move on. A small mistake can cause big problems later.
Safety Precautions
You should always put safety first when working on brakes.
- Wear gloves and safety glasses to protect your hands and eyes.
- Use jack stands to support your car. Never trust only a jack.
- Keep your work area clean and organized. Tools on the floor can cause trips or falls.
- Wash your hands after handling brake fluid or cleaner. These chemicals can harm your skin.
- Make sure you tighten all bolts to the correct torque. Loose bolts can make the caliper move.
Note: If you see brake fluid on your skin or in your eyes, wash it off right away.
When to Get Help
Sometimes you need a professional to keep your brakes safe.
- If you see deep rust or cracks on the caliper, ask a mechanic for help.
- If you cannot remove a stuck bolt or pin, do not force it. You might break it.
- If you feel unsure about bleeding the brakes, let a pro do it. Air in the lines can make your brakes fail.
- If your brake pedal still feels soft after repairs, get expert advice.
🚗 Remember: Your brakes keep you safe. When in doubt, always ask for help.
You can make sure your brakes work well if you do these things:
- Look for problems before you fix your brakes.
- Pick the right tools and do each step slowly and carefully.
- Clean every part, add grease, and tighten bolts just right.
If you put your brake caliper together with care, you stay safe while driving. These tips help you stop problems before they start. Paying close attention keeps you and others safe on the road.
FAQ
What signs show a brake caliper needs fixing?
You may hear squealing, grinding, or feel vibrations when you brake. The car might pull to one side. You could see brake fluid leaks or notice uneven pad wear.
How often should you check brake caliper assembly?
Check your brake calipers every time you change brake pads or at least once a year. Regular checks help you catch problems early and keep your brakes working well.
Can you reuse old seals or rubber boots?
You should never reuse old seals or rubber boots. Old parts can leak or fail quickly. Always use new seals and boots for each brake caliper assembly.
What tools do you need for brake caliper assembly?
- Brake caliper tool kit
- Socket set
- Torque wrench
- Brake cleaner
- Pry bar
These tools help you remove, clean, and install caliper parts safely.
When should you ask a mechanic for help?
If you see deep rust, cracks, or cannot remove stuck bolts, ask a mechanic. You should also get help if you feel unsure about bleeding brakes or if the pedal stays soft after repairs.


